
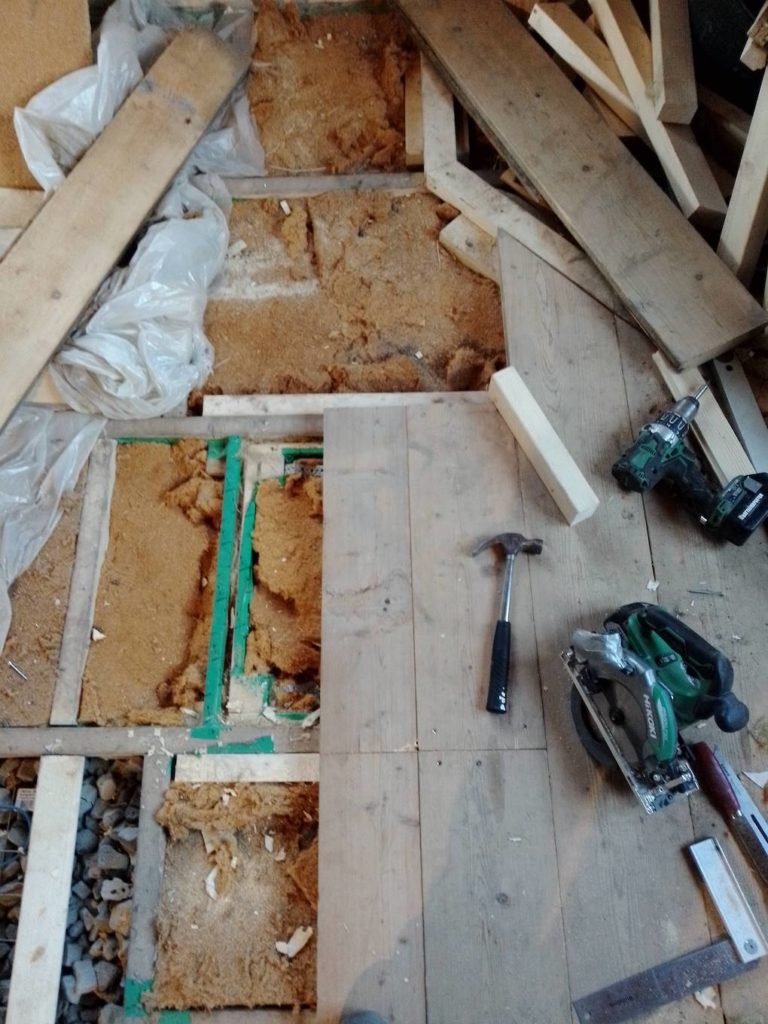
I had a rough idea in my head of how it might work but a quick Google later I found this post on how to build a floor hatch. The hatch in that post led to a basement (I think) but the idea was the same: an insulated, removable piece of subfloor & floorboards!
I was fortunate my dad helped sketch out the idea for me (I did too but I’ve lost the paper & his version was much better), always helps clear out ideas!
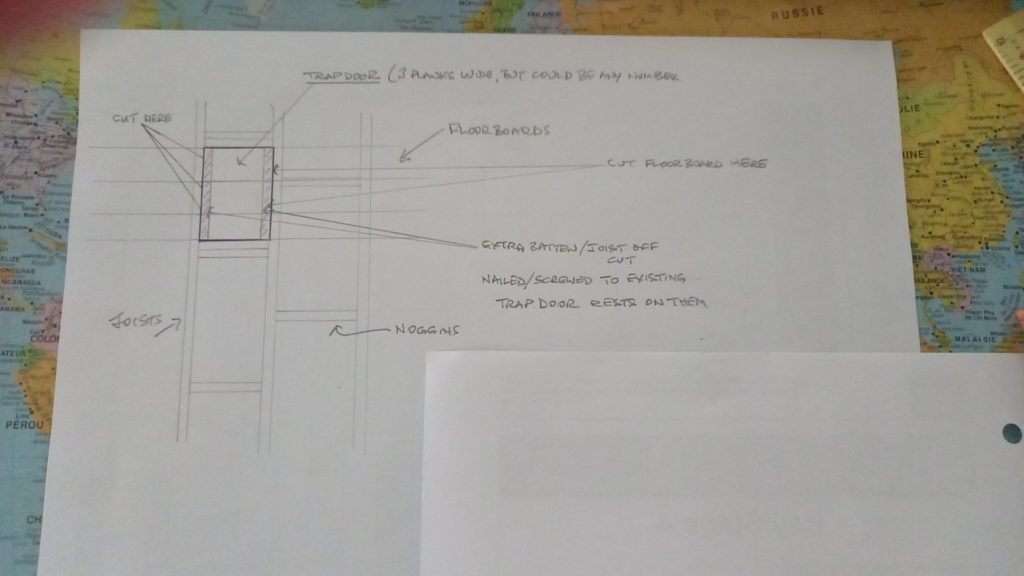
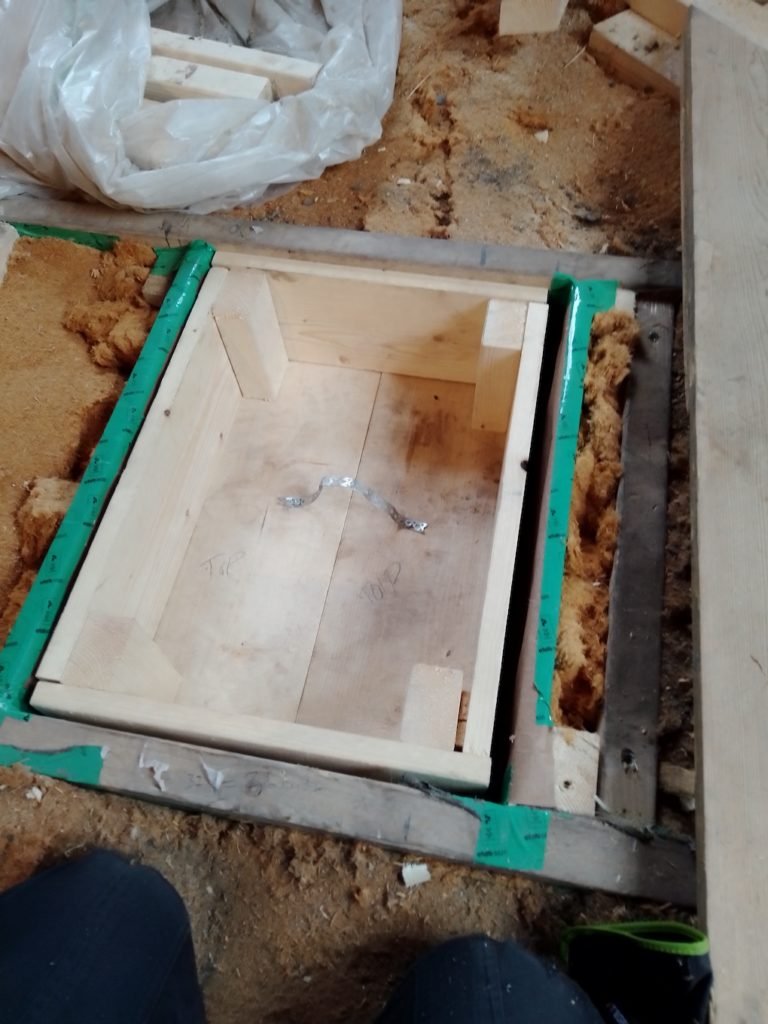
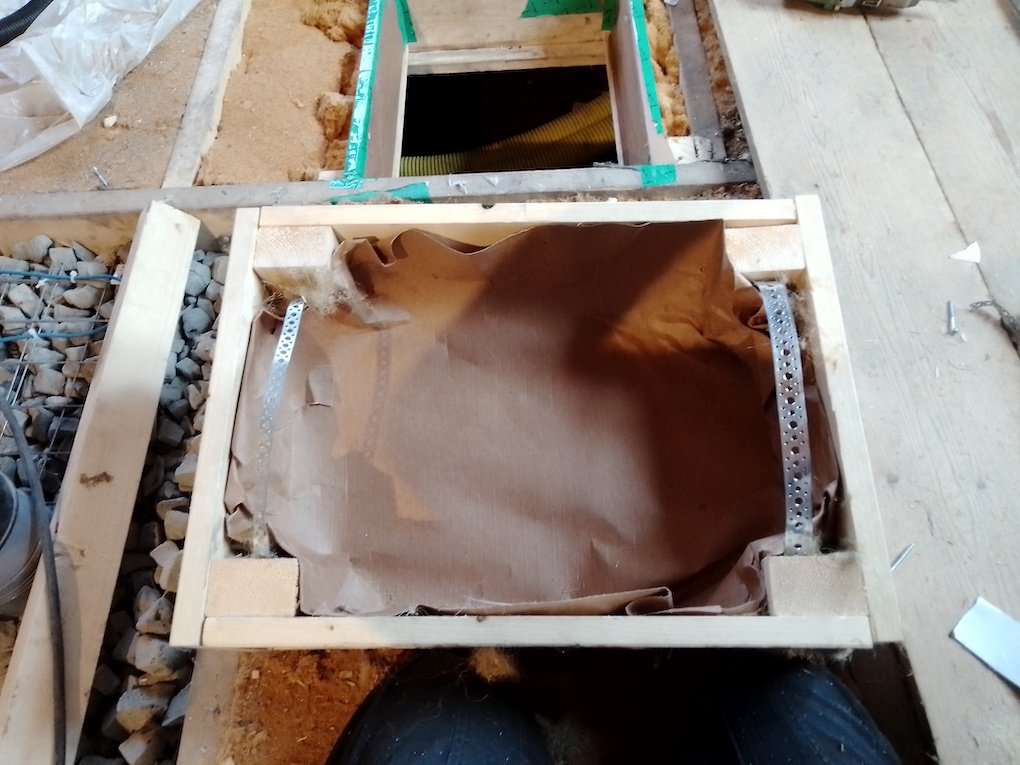
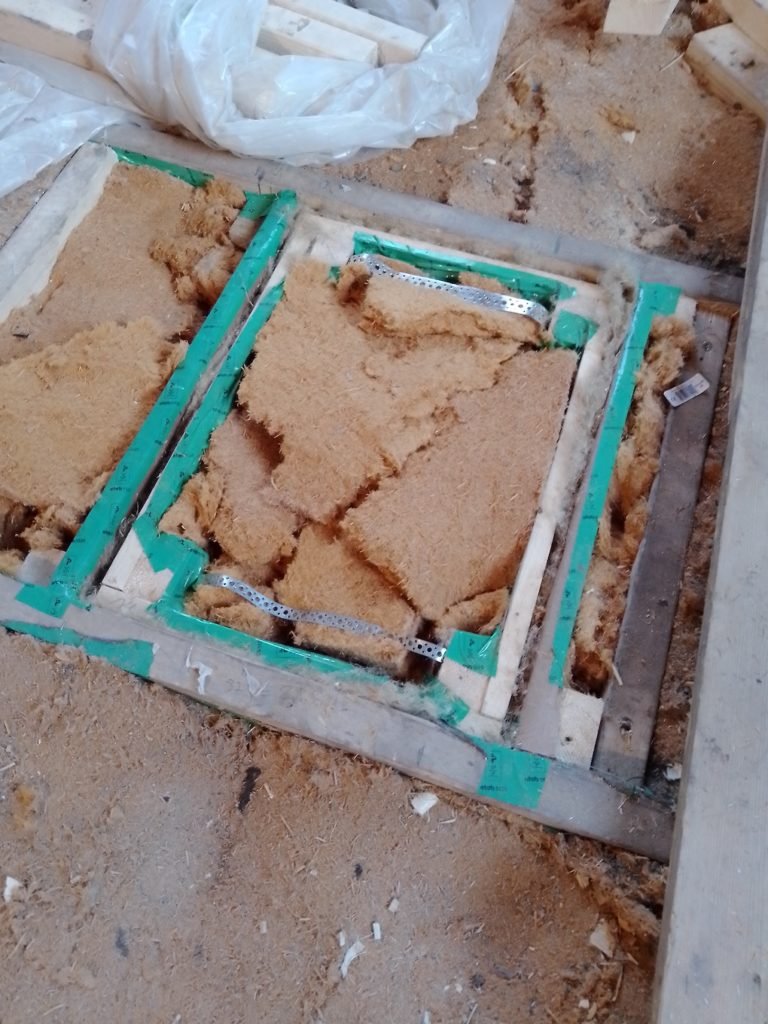
Basically I would make a liftable box which contained the underfloor including the windpaper & insulation then I cut the floorboards accordingly to fit the box & just screw them down to make them easy to get up, simple! And unlike most things in this house this actually was simple & went to plan!


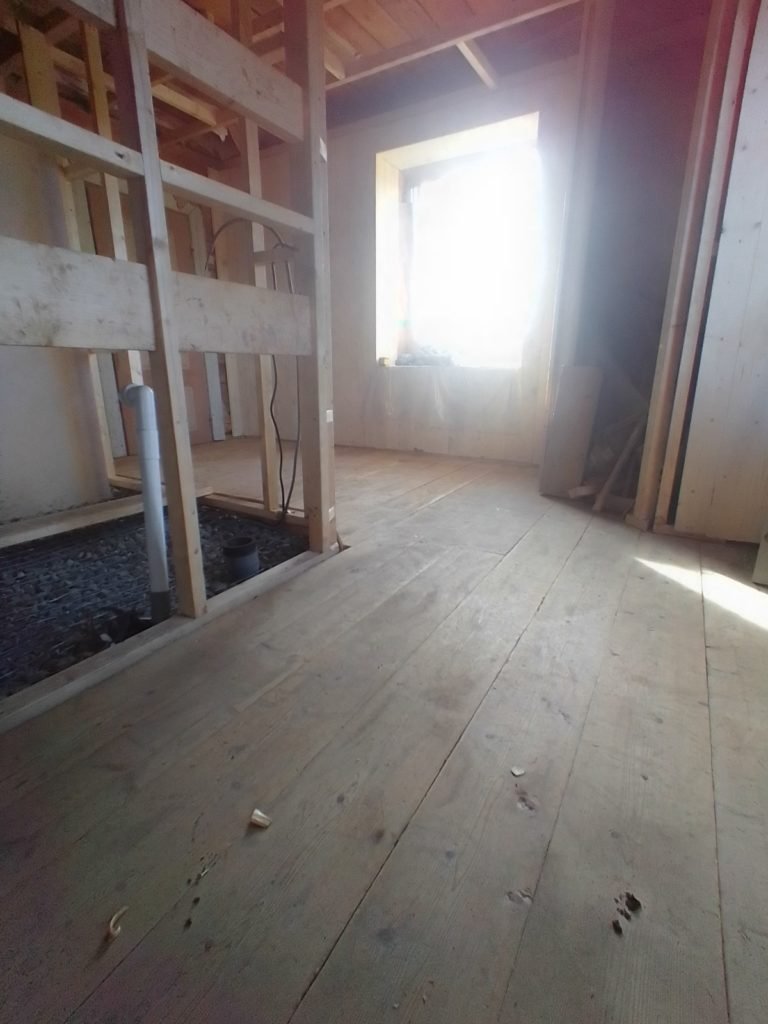
So that’s it, a pretty simple floor hatch and here’s how it looked once the floor was back down:
We’re going to post lots shorter posts like this about the smaller project in the house so sign up to our newsletter to get notified when we add new content like this!